Jenn-Air offers premium appliances, including innovative ovens like the JJW380DP with Wi-Fi connectivity․ This manual guides you through setup, operation, and maintenance․
Overview of Jenn-Air Brand & Oven Models
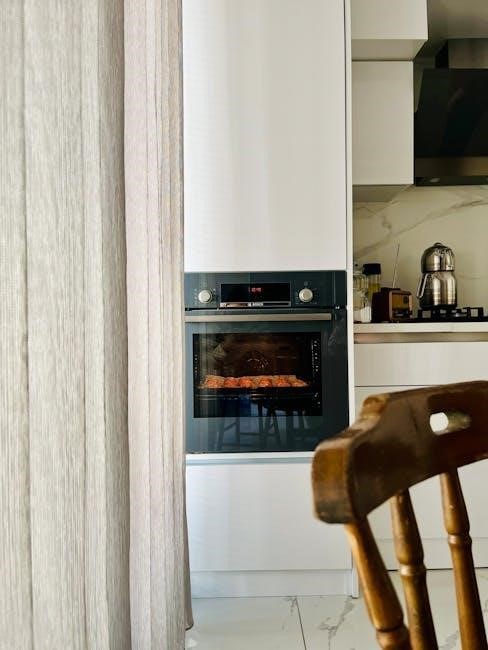
Jenn-Air has cultivated a reputation for luxury and innovation in the appliance industry, consistently delivering high-performance cooking solutions․ Their ovens, including the advanced JJW380DP double wall oven, are designed with both professional chefs and home cooks in mind․
The brand distinguishes itself through sleek aesthetics, robust construction, and cutting-edge features like built-in Wi-Fi and compatibility with smart home ecosystems such as Nest․ Jenn-Air offers a diverse range of oven models, from standard convection ovens to those equipped with specialized cooking modes like proofing and roasting․
Each model is engineered to provide precise temperature control and even cooking results, ensuring consistently delicious meals․ Understanding the specific features of your Jenn-Air oven is key to maximizing its potential, and this user manual serves as your comprehensive guide․
Importance of the User Manual
This user manual is your essential companion for unlocking the full potential of your Jenn-Air oven․ It provides detailed instructions, safety guidelines, and troubleshooting tips to ensure optimal performance and longevity․ Before operating your oven, carefully review the manual to familiarize yourself with its features and functions․
Understanding the control panel, cooking modes, and special features – like Wi-Fi connectivity on models such as the JJW380DP – is crucial for achieving desired cooking results․ The manual also outlines proper cleaning and maintenance procedures, safeguarding your investment․
Ignoring the manual’s guidance could lead to improper operation, potential hazards, or even voiding your warranty․ Consider it a vital resource for a safe and satisfying cooking experience․
Understanding Your Jenn-Air Oven Controls
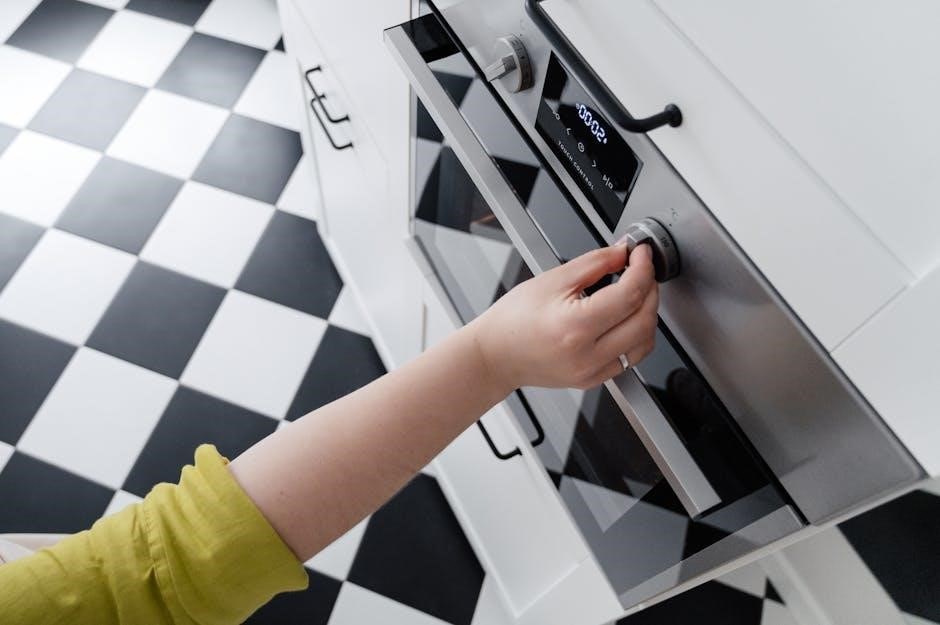
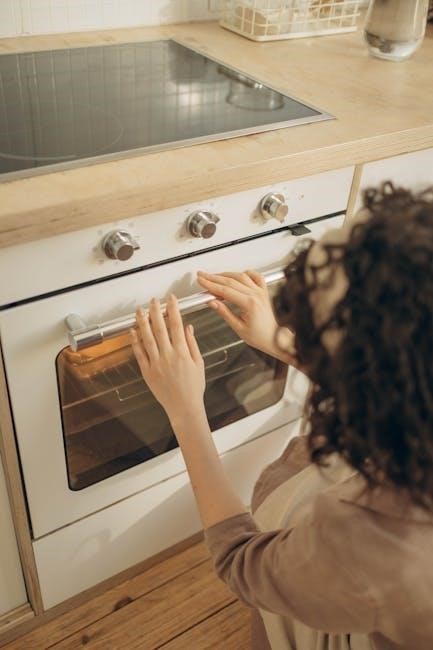
Jenn-Air ovens feature intuitive controls, including a responsive control panel and clear display indicators․ Mastering these elements unlocks precise cooking and convenient operation․
Control Panel Layout & Functions
The Jenn-Air oven’s control panel is designed for ease of use, typically featuring a touchscreen or traditional buttons․ Key functions include mode selection (Bake, Broil, Convection, etc․), temperature adjustment, timer settings, and options for specialized cooking features․
Navigation is generally straightforward, with clearly labeled icons and responsive touch capabilities․ Some models, like the JJW380DP, integrate Wi-Fi connectivity controls directly into the panel, allowing remote operation and monitoring․ The layout prioritizes quick access to frequently used settings, streamlining the cooking process․ Understanding the placement of these controls is crucial for maximizing your oven’s potential and achieving optimal cooking results․ Dedicated buttons or touchscreen options often control lighting and self-cleaning cycles․
Display Indicators & Symbols
The Jenn-Air oven display utilizes various indicators and symbols to communicate oven status and settings․ Common symbols include temperature indicators, mode icons (showing Bake, Broil, Convection), timer displays, and Wi-Fi connectivity status․ Error codes are also displayed here, signaling potential issues requiring attention․
Understanding these symbols is vital for safe and effective operation․ A preheat indicator illuminates when the oven is reaching the set temperature․ Symbols also denote active features like the temperature probe or self-clean cycle․ The display’s brightness may be adjustable․ Refer to the manual for a complete decoding of all indicators and symbols specific to your Jenn-Air model, ensuring proper interpretation of oven functions․
Setting the Clock
Accurate timekeeping is crucial for utilizing the oven’s timer and programmed cooking functions․ To set the clock, typically locate the “Clock” or “Time Set” button on the control panel․ Pressing this initiates the clock setting mode․ Use the number pads or arrow keys to input the correct hour and minute․
Confirm your entry by pressing “Start” or “Clock” again․ Some models offer a 12/24-hour time format option, adjustable within the settings menu․ Ensure the clock is correctly set, as it governs delayed start times and cooking durations․ Incorrect time settings can lead to inaccurate cooking results․ Refer to your specific model’s manual for detailed, step-by-step instructions․
Operating Modes & Cooking Functions
Jenn-Air ovens feature versatile modes like Bake, Broil, Convection, Roast, Warm, and Proof, offering precise control for diverse culinary creations and optimal results․
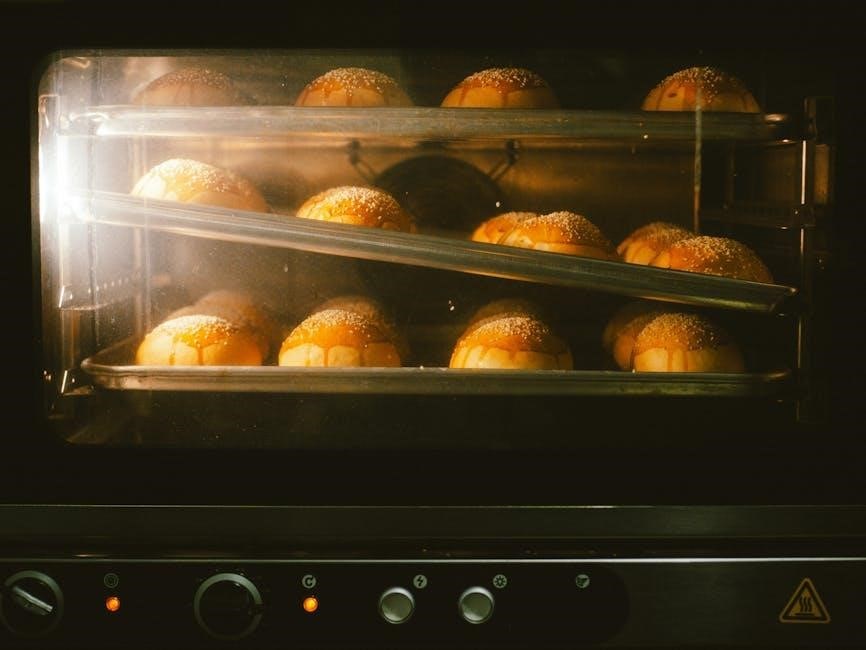
Bake Mode – Standard Baking
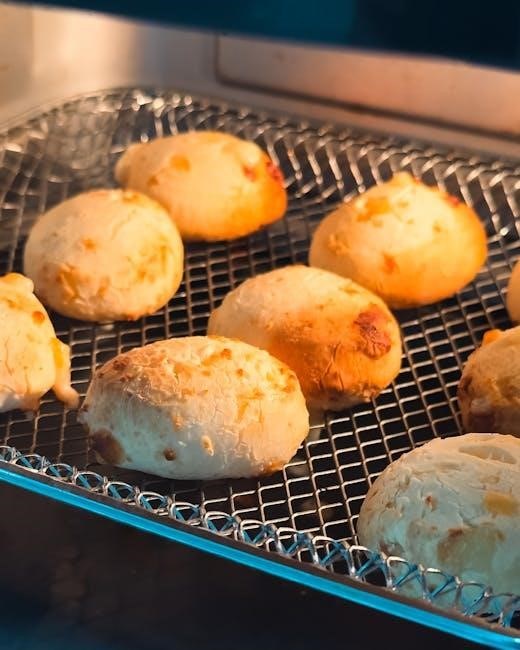
Bake mode is your go-to setting for everyday cooking tasks, providing consistent heat from the bottom element for even browning and thorough cooking․ This mode is ideal for cakes, cookies, casseroles, and other baked goods where gentle, all-around heat is desired․
To utilize Bake mode, simply select it on the control panel and set your desired temperature․ The oven will maintain that temperature throughout the cooking process․ Preheating is recommended for optimal results, indicated by a signal on the display․ Remember to adjust cooking times based on your recipe and the specific item being baked․ For best outcomes, position oven racks in the center of the oven cavity during standard baking․
Broil Mode – High & Low Settings
Broil mode utilizes the upper heating element to deliver intense, direct heat, perfect for browning, searing, and finishing dishes․ Jenn-Air ovens offer both high and low broil settings to accommodate various food types and desired levels of browning․
The high broil setting is ideal for quickly searing meats or achieving a deeply browned crust․ Low broil provides gentler heat, suitable for delicate foods or when you want to prevent burning․ Always use the broil pan and rack provided to catch drippings and ensure proper airflow․ Keep the oven door slightly ajar during broiling to prevent overheating and maintain proper temperature regulation for optimal results․
Convection Bake – For Even Cooking
Convection Bake utilizes a fan to circulate hot air throughout the oven cavity, resulting in faster and more even cooking․ This mode is excellent for baking multiple racks of cookies, roasting vegetables, or cooking large items like turkeys․
When using Convection Bake, reduce the recipe temperature by 25°F (15°C) and check for doneness slightly earlier than the recommended time․ The circulating air ensures consistent heat distribution, eliminating hot spots and promoting uniform browning․ For optimal results, avoid opening the oven door frequently during convection baking, as this can disrupt the airflow and affect cooking performance․
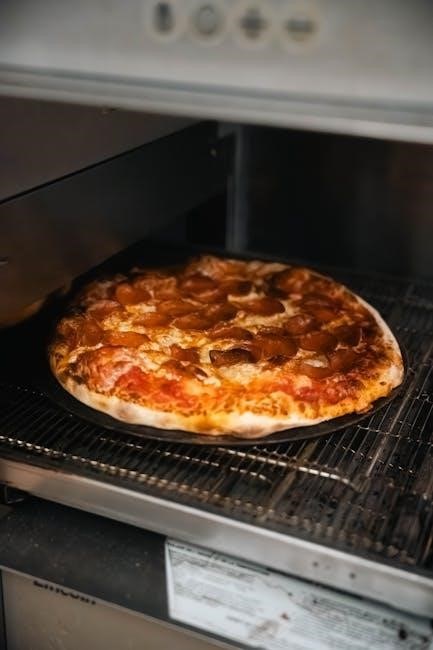
Roast Mode – For Larger Cuts of Meat
Roast Mode is specifically designed for cooking larger cuts of meat, poultry, or even vegetables․ It operates at a higher temperature than standard Bake, creating a beautifully browned exterior while sealing in juices for a tender and flavorful result․ This mode typically doesn’t utilize the convection fan, focusing on radiant heat․
For best results with Roast Mode, place the meat on a roasting rack within a pan․ This allows for even heat circulation around the entire cut․ Monitor the internal temperature using a meat thermometer to ensure it reaches a safe and desired level of doneness․ Remember to let the meat rest after roasting for optimal juiciness․
Warm Mode – Keeping Food at Serving Temperature
Warm Mode is ideal for holding cooked foods at a safe serving temperature until you’re ready to enjoy your meal․ It operates at a low, consistent heat, preventing further cooking while maintaining food quality․ This feature is perfect for busy households or when entertaining guests․
To utilize Warm Mode, ensure food is already fully cooked before transferring it to the oven․ Avoid leaving food in Warm Mode for extended periods – generally, no more than three hours is recommended for food safety․ Do not use Warm Mode to reheat cold foods, as this could create a breeding ground for bacteria․
Proof Mode – For Yeast Doughs
Proof Mode creates the ideal warm, humid environment for successful yeast dough rising․ This specialized setting provides gentle, consistent heat without baking the dough, ensuring optimal expansion and a light, airy texture for breads, rolls, and pastries․ Maintaining the correct temperature is crucial for yeast activity․
To activate Proof Mode, place the dough in a covered container inside the oven․ Avoid overcrowding, allowing for air circulation․ Proofing times will vary depending on the recipe and ambient temperature; regularly check the dough’s progress․ Do not use Proof Mode for extended periods, as over-proofing can occur․
Using Special Features
Explore advanced capabilities like Wi-Fi connectivity on models such as the JJW380DP, integrated cooking guides, and precise temperature probe functionality for optimal results․
Wi-Fi Connectivity & Smart Features (JJW380DP)
The Jenn-Air JJW380DP double wall oven boasts integrated Wi-Fi connectivity, enhancing your cooking experience with smart features․ This allows remote control and monitoring via a compatible mobile app, providing convenience and peace of mind․ You can preheat the oven, adjust temperatures, and even receive notifications when cooking is complete—all from your smartphone or tablet․
Furthermore, the JJW380DP seamlessly integrates with the Nest Learning Thermostat, optimizing energy efficiency and creating a connected kitchen ecosystem․ Built-in cooking guides offer expert assistance, suggesting optimal settings for various dishes․ These smart features simplify meal preparation and ensure consistently delicious results, making the JJW380DP a truly modern appliance․
Cooking Guides & Recipes
Jenn-Air ovens, particularly models like the JJW380DP, feature built-in cooking guides designed to simplify meal preparation․ These guides provide recommended temperature and time settings for a wide variety of dishes, taking the guesswork out of cooking․ Whether you’re roasting a chicken, baking a cake, or preparing a delicate soufflé, the oven offers expert assistance at your fingertips․
Accessing these guides is often done through the oven’s control panel or companion mobile app․ Beyond pre-programmed settings, many resources offer curated recipes specifically tailored for Jenn-Air appliances, ensuring optimal performance and delicious outcomes․ Explore these features to unlock your culinary potential and consistently create exceptional meals․
Temperature Probe – Accurate Cooking
Jenn-Air ovens often include a temperature probe, a valuable tool for achieving perfectly cooked results, especially with meats and poultry․ This probe continuously monitors the internal temperature of your food, allowing the oven to automatically shut off when the desired doneness is reached․ This eliminates the uncertainty of relying solely on cooking times․
To use the probe, insert it into the thickest part of the food, ensuring it doesn’t touch bone․ Set the desired final temperature within the oven’s controls, and the oven will maintain precise cooking․ Utilizing the temperature probe guarantees consistently juicy, tender, and safely cooked dishes, enhancing your culinary experience․
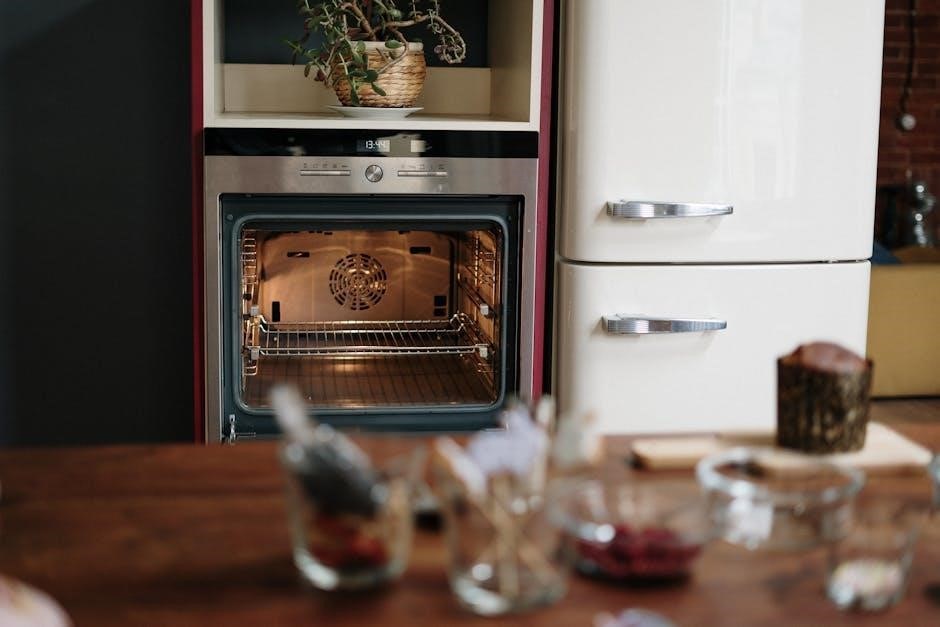
Cleaning & Maintenance
Regular cleaning ensures optimal performance and longevity of your Jenn-Air oven․ This section details self-clean cycles, manual cleaning procedures, and component care․
Self-Clean Cycle – Operation & Precautions
The self-clean cycle utilizes high temperatures to burn off food residue within your Jenn-Air oven․ Before initiating, remove all racks, cookware, and any loose debris․ Ensure the oven door can fully lock; do not attempt to force it open during operation․
Select the desired clean cycle duration – options may include light, medium, or heavy cleaning․ The cycle can take several hours to complete, and the oven will automatically lock for safety․ A burning smell is normal during this process, so ensure adequate ventilation․
Important Precautions: Never use oven cleaners manually during or after a self-clean cycle․ Keep children and pets away from the oven during operation as the exterior surfaces become extremely hot․ Allow the oven to cool completely before removing ash residue․
Manual Cleaning – Interior & Exterior
For regular maintenance, manual cleaning is recommended alongside the self-clean cycle․ Begin by disconnecting power to the oven․ Inside, use a mild dish soap and warm water solution to wipe down all interior surfaces․ Avoid abrasive cleaners, which can damage the enamel coating․
Pay close attention to spills and baked-on food․ A paste of baking soda and water can help loosen stubborn residue․ Rinse thoroughly with clean water and dry with a soft cloth․ For the exterior, use a stainless steel cleaner specifically designed for appliances․
Always test any cleaner in an inconspicuous area first․ Wipe with the grain of the stainless steel to prevent scratches․ Regularly cleaning prevents buildup and maintains your Jenn-Air oven’s appearance․
Cleaning the Oven Door
The oven door requires specific attention during cleaning․ For both the glass and surrounding areas, use a non-abrasive glass cleaner and a soft cloth․ Avoid harsh chemicals that could streak or damage the glass․ If buildup is significant, a paste of baking soda and water can be applied, left for a short period, and then gently wiped away․
For models with a removable door, consult your full user manual for detailed instructions on safe removal and reinstallation․ Ensure the door is securely latched after cleaning․ Regularly cleaning the door maintains visibility and prevents baked-on residue from becoming difficult to remove․
Always avoid spraying cleaner directly onto the door’s heating elements or seals․
Replacing Oven Light
To replace the oven light, always disconnect the oven’s power supply at the breaker box to prevent electrical shock․ Locate the oven light cover, typically found at the back of the oven cavity․ Remove the cover – it may twist or lift off, depending on the model․
Carefully unscrew the old bulb and replace it with a new bulb of the correct wattage, as specified in your user manual․ Do not overtighten․ Reattach the light cover securely․
If the new bulb doesn’t illuminate, double-check the power supply and ensure the bulb is properly seated․ Consult a qualified technician if issues persist․
Troubleshooting Common Issues
Common problems like heating failures or unresponsive controls can often be resolved by checking power, error codes, and consulting this manual․
Oven Not Heating
If your Jenn-Air oven isn’t heating, first verify the power supply is active and the oven is properly connected․ Check the control panel to ensure a cooking mode is selected and the temperature is set correctly․ A tripped circuit breaker is a frequent cause; reset it if necessary․
Inspect the oven’s safety features, including the door switch – the oven won’t heat if the door isn’t fully closed․ If these basic checks don’t resolve the issue, consult the error code section of this manual, as specific codes can pinpoint the problem․ For persistent failures, contacting a qualified service technician is recommended to diagnose and repair potential heating element or control board malfunctions․
Error Codes & Their Meanings
Jenn-Air ovens utilize error codes to signal specific malfunctions, aiding in diagnosis and repair․ A code like “E1” might indicate a temperature sensor failure, while “E2” could point to a heating element issue․ Refer to the comprehensive error code table within this manual for a complete listing and detailed explanations․
Understanding these codes empowers you to potentially resolve minor issues or accurately communicate the problem to a service technician․ Note the code displayed, along with any accompanying symptoms, before contacting support․ Ignoring error codes can lead to further damage, so prompt attention is crucial for maintaining optimal oven performance․
Control Panel Not Responding
If the control panel becomes unresponsive, first verify the oven is receiving power – check the circuit breaker or fuse box․ A simple reset can often resolve the issue; try turning the oven off at the breaker for several minutes, then restoring power․ If this fails, examine the control panel for any physical obstructions or damage․
Avoid pressing buttons forcefully or using abrasive cleaners․ Should the problem persist, consult the troubleshooting section for specific error codes․ If no codes appear, and the panel remains inert, professional service is recommended․ Do not attempt self-repair, as this could void your warranty․
Safety Precautions
Always prioritize safety when using your Jenn-Air oven; heed general guidelines, carbon monoxide warnings, and utilize the child safety lock feature diligently․
General Safety Guidelines
Before operating your Jenn-Air oven, carefully read all instructions to ensure safe and effective use․ Never allow children to use the oven unsupervised, and always keep them a safe distance away during operation․ Exercise caution when handling hot cookware and oven surfaces, utilizing oven mitts or pot holders to prevent burns․
Avoid using harsh abrasive cleaners or scouring pads on the oven’s interior or exterior, as they can damage the finish․ Ensure proper ventilation during cooking, especially when using the broil function․ Do not store flammable materials near the oven․ Regularly inspect the oven’s power cord for any signs of damage, and if found, discontinue use immediately․ Always disconnect the oven from the power supply before performing any maintenance or cleaning procedures․
Carbon Monoxide Safety
Carbon monoxide (CO) is a colorless, odorless gas that can be deadly․ While Jenn-Air ovens are designed with safety in mind, proper ventilation is crucial to prevent CO buildup․ Never use the oven for heating your home, as this can create dangerous levels of carbon monoxide․
Ensure your kitchen is adequately ventilated during oven use, utilizing a range hood or opening windows․ Install carbon monoxide detectors near sleeping areas and on every level of your home․ If a CO detector alarms, immediately evacuate the premises and call emergency services․ Regular maintenance of your oven, including proper burner function, helps minimize CO risk․ Be aware of symptoms like headache, dizziness, and nausea, which could indicate CO poisoning․
Child Safety Lock Feature
Jenn-Air ovens are equipped with a Child Safety Lock feature to prevent accidental operation by young children․ This function disables the control panel buttons, rendering the oven inoperable without deactivation․ To activate the lock, typically a combination of buttons is pressed simultaneously – consult your specific model’s manual for instructions․
When engaged, the display will usually indicate the lock status with a symbol․ To deactivate, repeat the button combination․ Regularly check the lock’s functionality, especially in households with children․ This feature provides peace of mind, preventing unintended oven use and potential burns or other hazards․ Always supervise children in the kitchen and educate them about oven safety․
Warranty Information
Jenn-Air ovens come with a limited warranty covering parts and labor․ Review your purchase documentation for specific coverage details and claim procedures․
Coverage Details
Jenn-Air oven warranties typically cover defects in materials and workmanship for a specified period from the date of original purchase․ The length of coverage can vary depending on the specific model and component․ For example, limited warranties often apply to the stainless steel interior, electronic controls, and surface elements․
Generally, the warranty will cover the cost of replacement parts and repair labor necessary to correct a covered defect․ However, it usually does not cover damage resulting from misuse, accidents, improper installation, or normal wear and tear․ It’s crucial to retain proof of purchase, as this is required to validate any warranty claim․ Carefully review the complete warranty document included with your oven for precise terms and conditions․
How to Make a Claim
To initiate a warranty claim for your Jenn-Air oven, first gather your original proof of purchase, model number, and a detailed description of the issue․ Contact Jenn-Air’s authorized service center directly – details are available in your owner’s manual or on the Jenn-Air website․
A qualified technician will likely be dispatched to diagnose the problem․ If the issue is covered under warranty, they will arrange for repair or replacement of the defective part․ Keep records of all communication and service visits․ Be prepared to provide photos or videos demonstrating the defect, if requested․ Promptly submitting all required documentation will expedite the claim process․